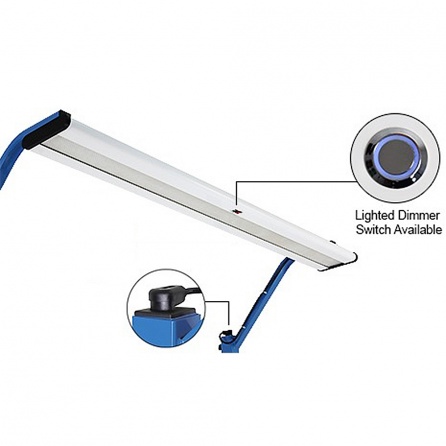
Overhead Aluminum LED Lights with Dimmer Switch.
- Heavy Duty Powder Coated Aluminum Enclosure.
- Conveniently Located Lighted Switch.
- Choose Between Rocker or Dimmer Switch for Custom Brightness Adjustment.
- Our Most Advanced Lighting.
- 3 Foot Cord Included.
- Color: 5,000 Kelvin. Similar to Fluorescent Daylight.
An installed 30” cord that plugs into our (exclusive) uprights with an outlet at the top, a choice of lighted rocker switch or (exclusive) infinite dimming switch, a 115v power supply, an (exclusive) aluminum frame for ease of installation, an (exclusive) 10-year unconditional warranty.
! Uprights & Light Frame Required.
! Upright Mounted Plug Included when you Purchase.
! Inventoried in white. Add $10 each for special color.
* Standard 3 Foot Cord, Optional 8 Foot Cord.
Overhead Light Assembly
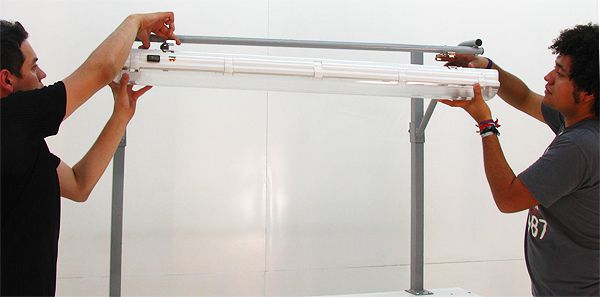
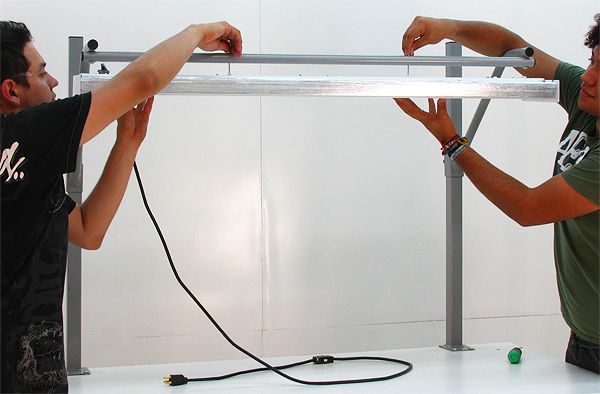
1. This is a job for two people. Unpack the light frame. Form it into a "C" shape and suspend it over the top of the uprights. You can form it with the knobs on the inside or the outside. Make sure the knobs are backed out far enough to allow it to slip over the top. Slide it into desired position.

2. Use the knobs to tighten it down. It does not have to be super tight.
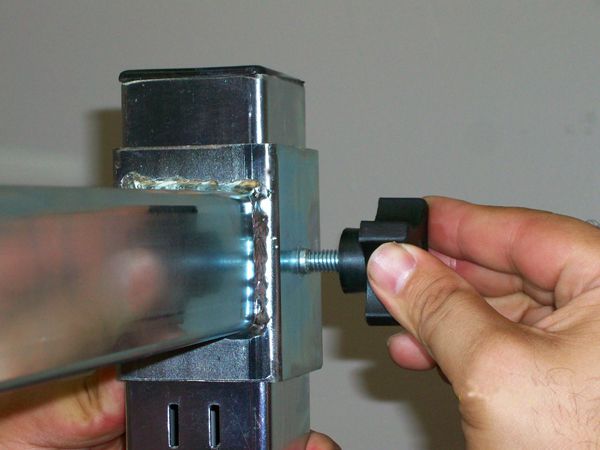
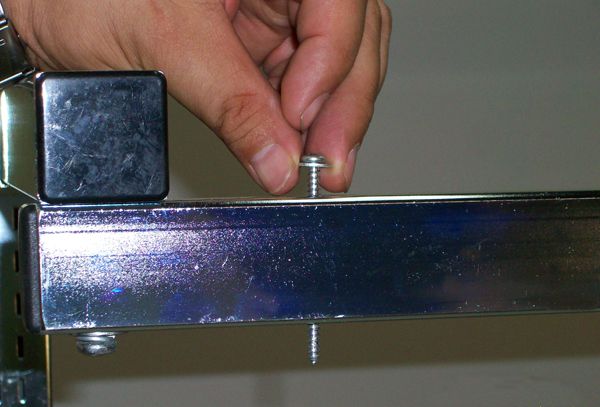
3. Now drop two sheet metal screws with washers into the holes in the top of the long bar.
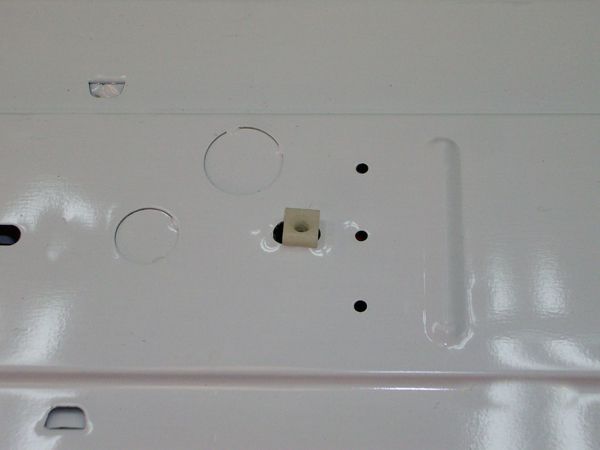
4. Turn the light facing down, and locate two nylon fasteners.
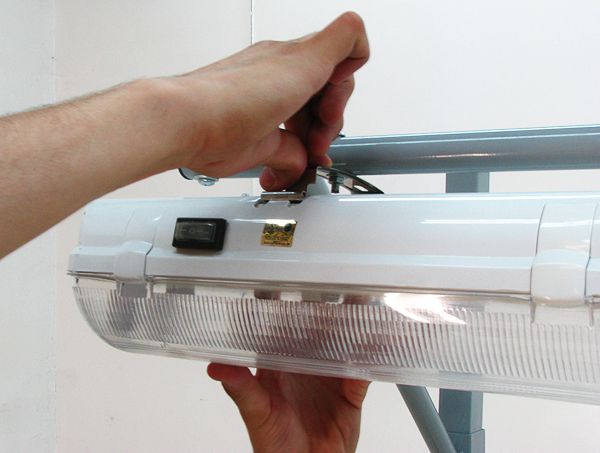
5. Position the light under the bar with the two screws positioned to go into the nylon fasteners. Insert the screws and tighten them until the light is secure against the bottom of the light frame bracket hinges.
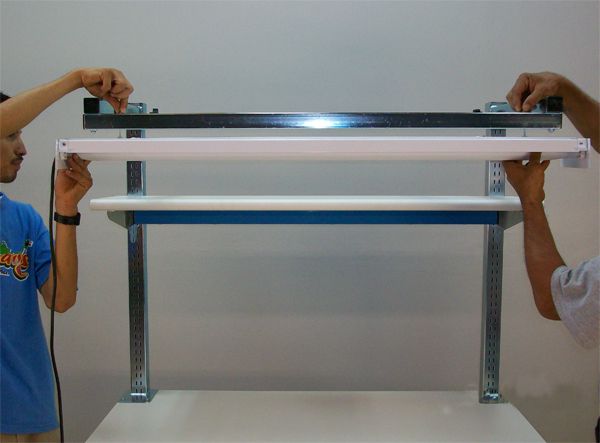
Roosevelt Series - Light and Frames Assembly
1. Slide light frame over the top of the uprights.
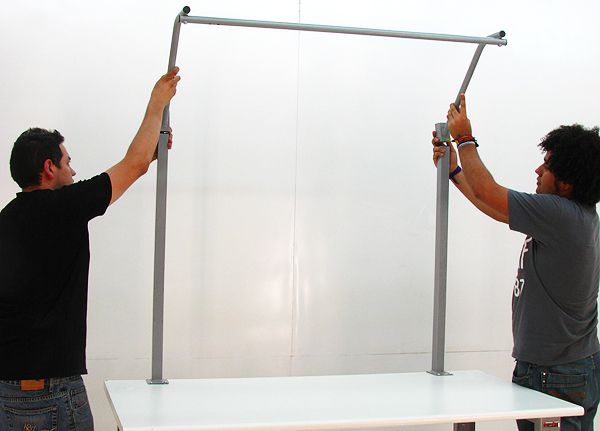
Gently tighten the knob.

2. If you have a plastic frame light, skip forward to 2b.
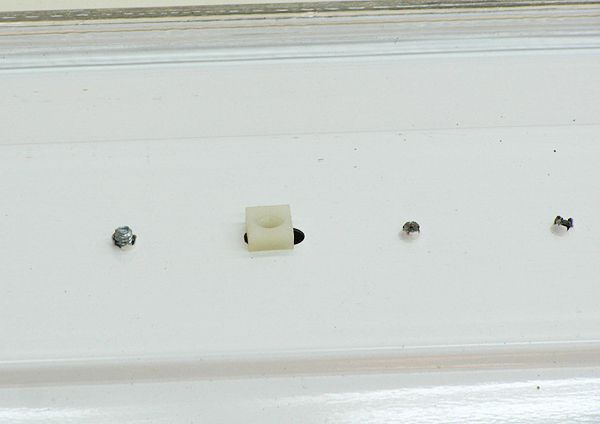
2a. For steel frame lights, position with nylon fasteners (On top of light fixture) below the two holes in the frame. Insert and tighten fasteners.


2b. Install the two stainless steel brackets on the horizontal bar with the nut and lock washer on the top. (Change out the photo. The bolt hits the light the way you have it).
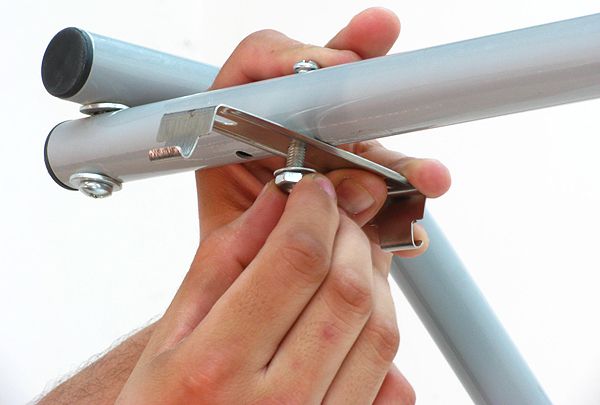
2c. Position the light with the switch forward and on the left. Snap the light to the frame.
